Our Display
The display which finally went on the PCB was from Adafruit. Here is the datasheet for a ST7735 display.
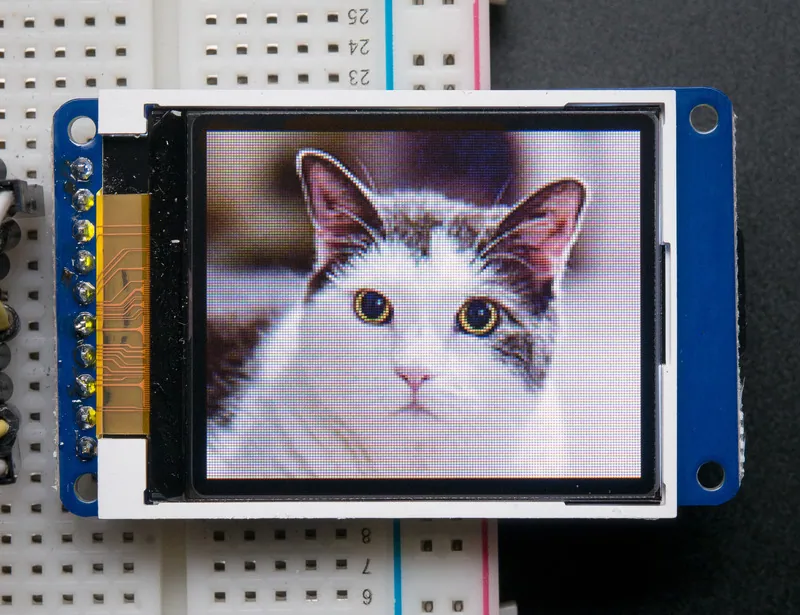
It’s a pretty good LCD, it’s 1.8 inches diagonally and is 128 by 160 pixels. It uses 16 bit RGB colors, so you can get some nice results by loading in an image.
To actually draw an image, the microcontroller communicates with the LCD using SPI and there are 2 major commands. First you need to tell the starting and end positions for the columns and rows (there are 2 commands for the column and the row to set the start and end position). These positions make a square on the LCD, and then you “indicate” another instruction and then push n pixels based on the square you have. Of course, you need to set up the LCD first, but that’s just copied magic code honestly.
Flickering Problem
When you start dealing with moving graphics, you might encounter flickering. See the two images below for a rough explanation of why it happens.

What could this picture be. I think it’s a bowling ball or coconut.

This is what the finished picture is. Turns out, it was your reaction to why flickering happens!
Was there any need to show the picture before it was finished? Not really, but flickering happens because of this. If you have a character on a black background, and you draw a black square on the character, and then redraw the character, there will be a flicker. Every time you make a draw call, you are showing the ‘canvas’ to the user. On every frame, there should be only one draw call, so you only show the finished ‘canvas’ or finished picture to the user. Drawing is also a speed bottleneck, because the microcontroller has to send 2 * 160 * 128 bytes of data over SPI to the LCD (each pixel takes two bytes, and techincally you have to send just a few more bytes than that because of how the draw command works).
A framebuffer can solve this problem.
Framebuffer
With a framebuffer, we use the microcontroller as a canvas and the LCD just to show the finished picture. This means we are only sending completed images to the LCD, and we need to store the entire memory of the LCD in the microcontroller’s RAM. Everything seems fine, except if you solve 2 * 160 * 128 you get 40,960 bytes. The TM4C123 only has 32 KB of RAM. It is impossible to have a framebuffer, except it isn’t with a hack.
A color takes two bytes, so if we can somehow represent a color as one byte, we go from 40,960 bytes of RAM to 20,480 bytes of RAM. We can store the 2 bytes of color in a table (which is actually just an array), so we only need one byte to index the table (depending on how many colors you have, you can optimize this even more). One byte means we can have 256 colors. We’ll have to reduce the quality of images, but this can actually give a nice effect in some cases by using a color palette. We used a color palette from lospec, and I’ll talk about how images are processed and formatted in a different post.
Now when you are pushing pixels in your draw command, you will convert the indices into colors and everything will work as usual. In short, they key to making the framebuffer fit in memory is a colormap.
I never really calculated the FPS, but it was “good enough,” so no need to worry about it (there is a way to rougly calculate it which I will talk about in another blog post).
Code
Here is the folder which has the code for all graphics. Concerning this post the most relevant files are the mgfx_st7735.c and mgfx.c files.